home
biography
selected works
works on paper
walkthrough
recruit
blog
contact
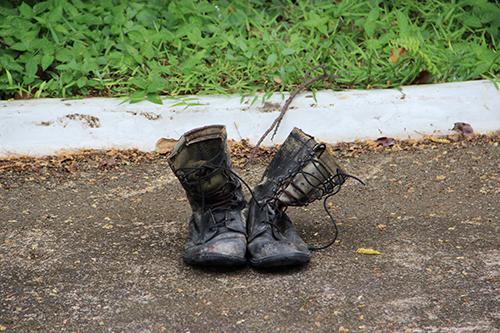
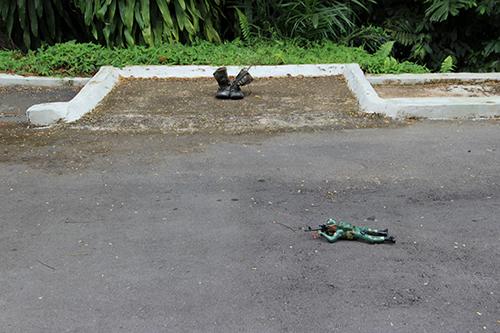
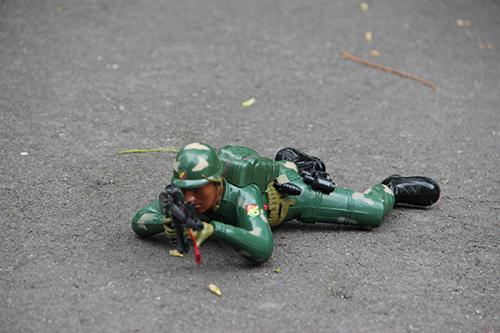
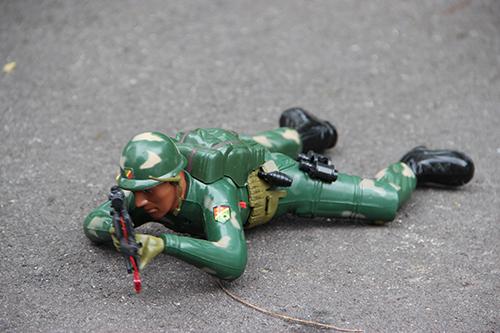
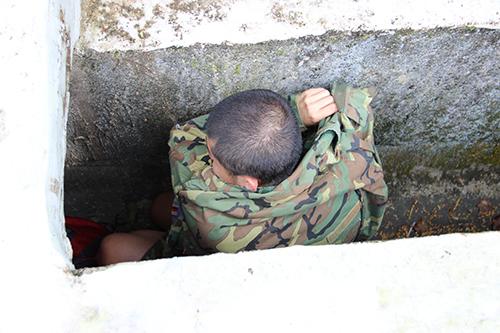
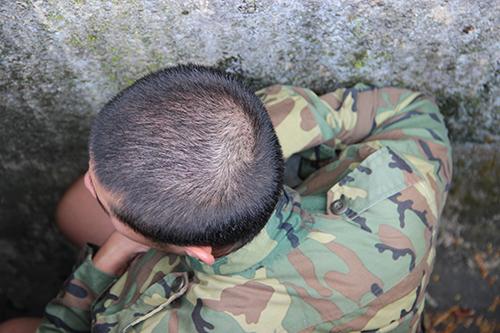
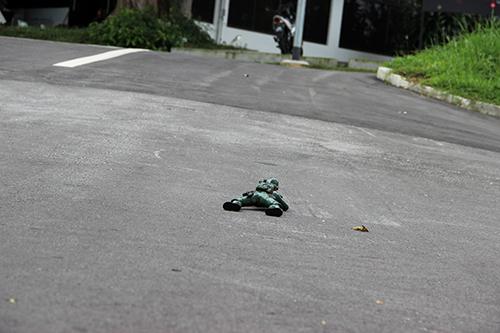
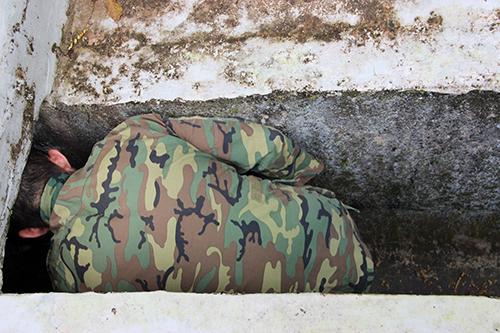
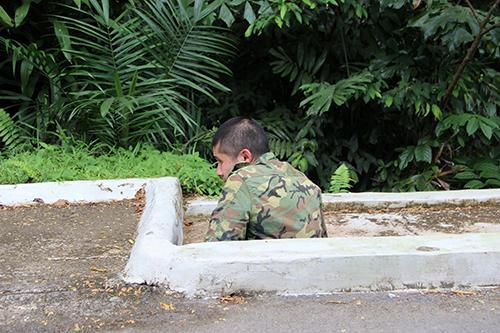
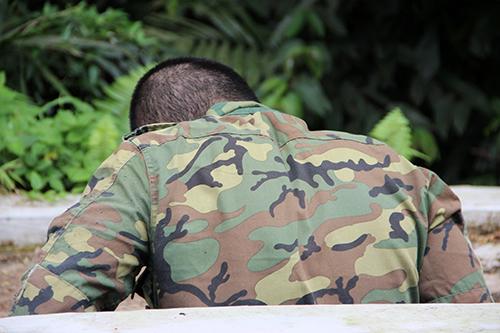
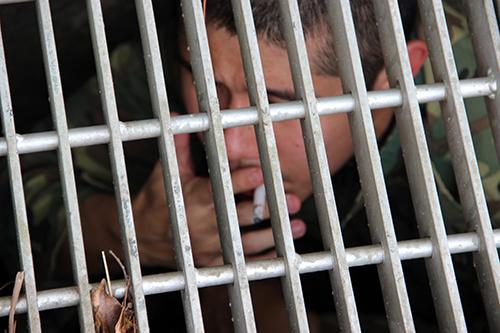
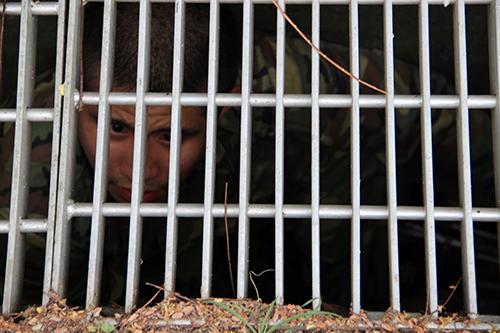
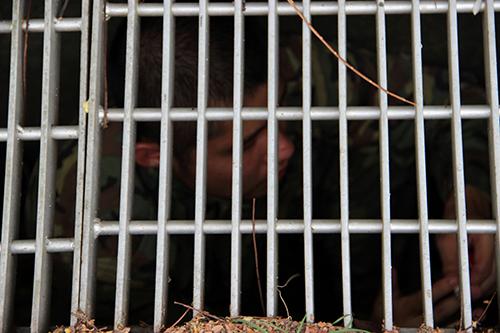
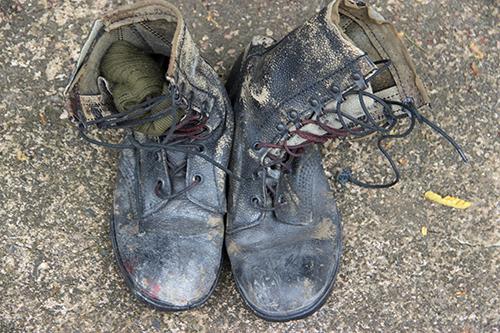
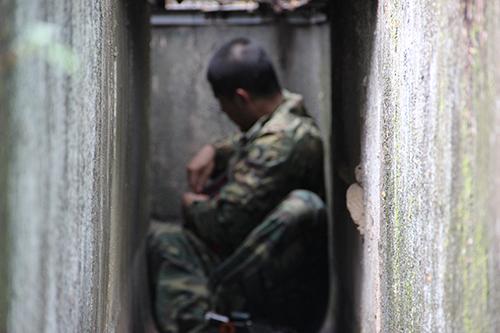
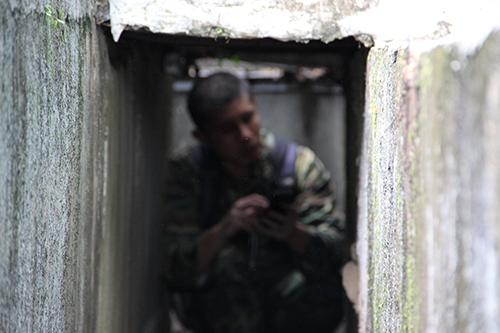
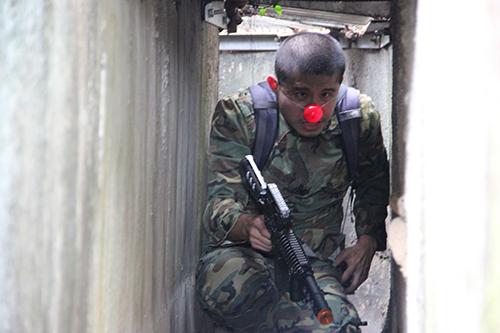
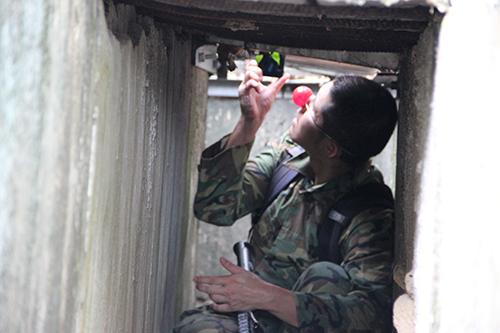
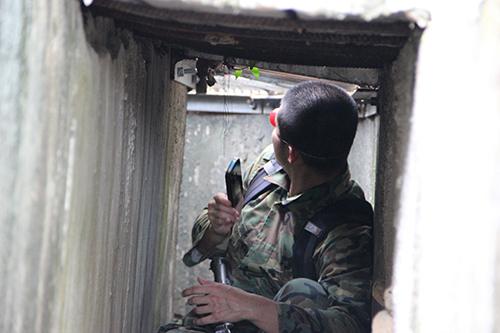
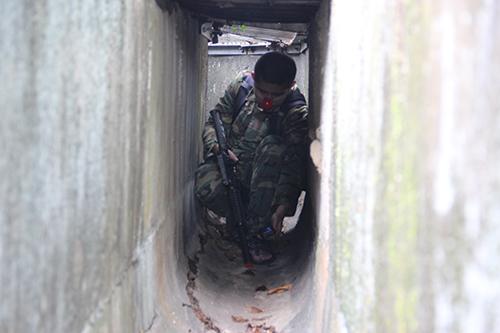
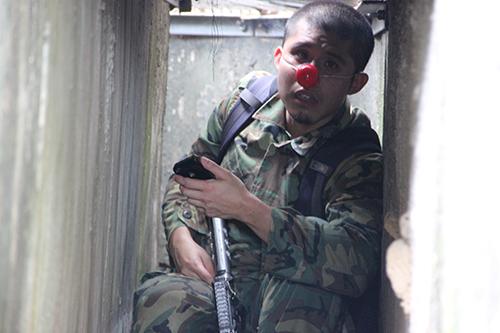
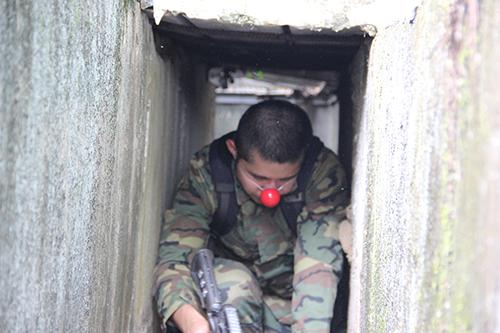
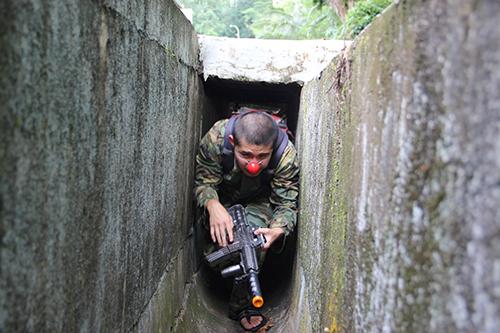
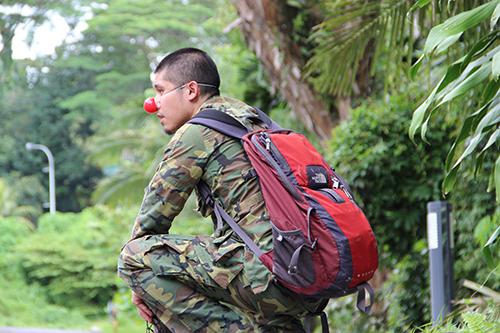
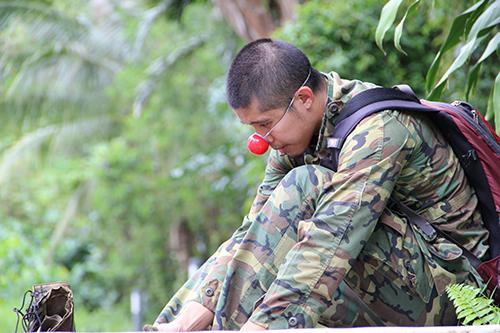
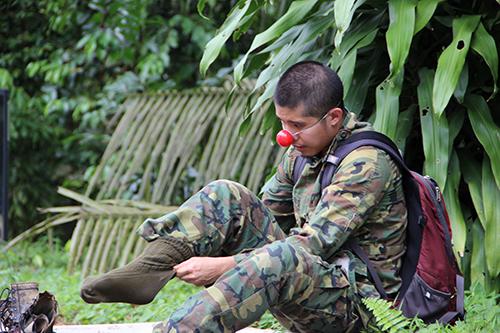
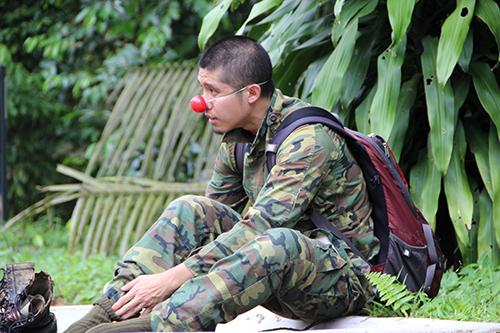
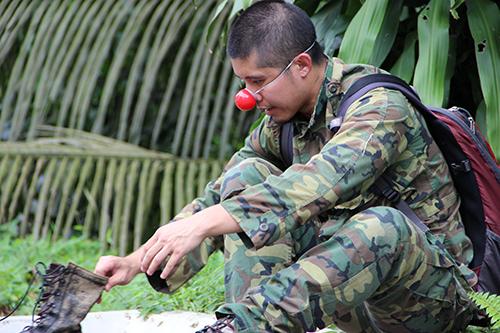
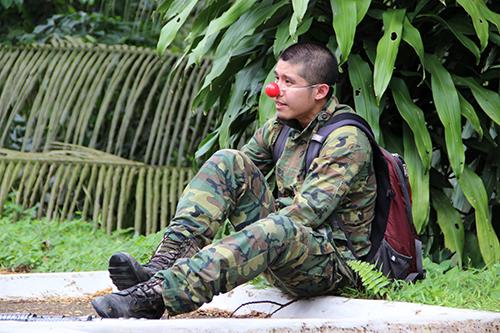
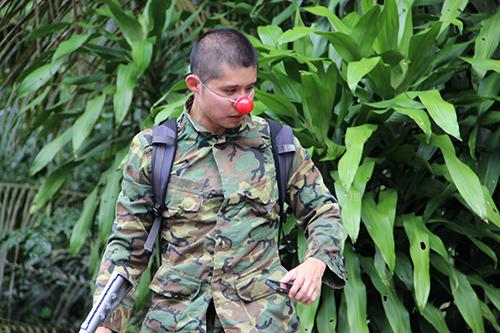
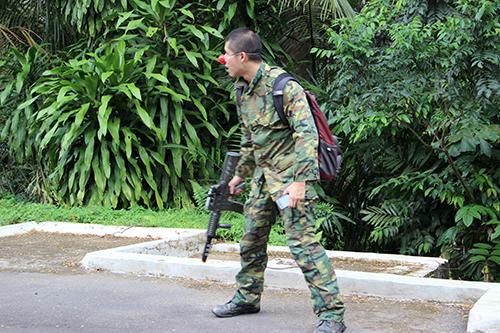
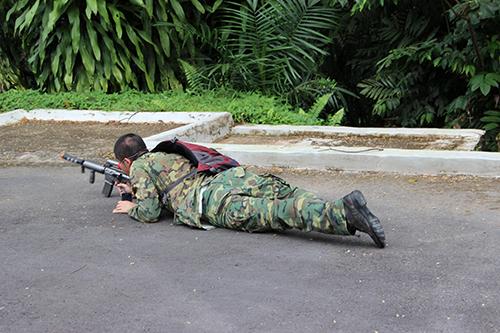
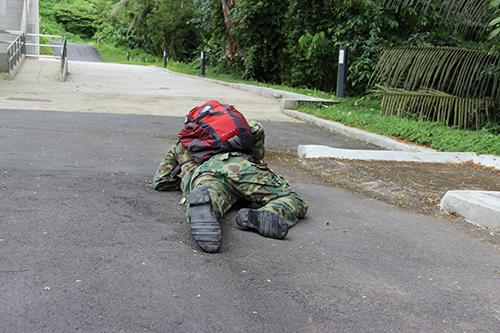
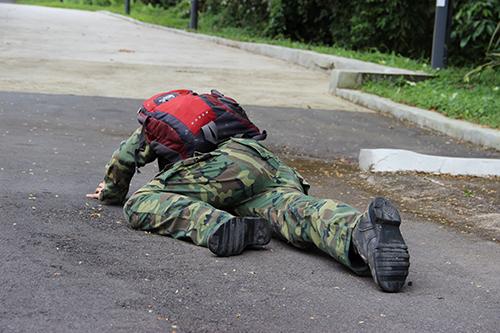
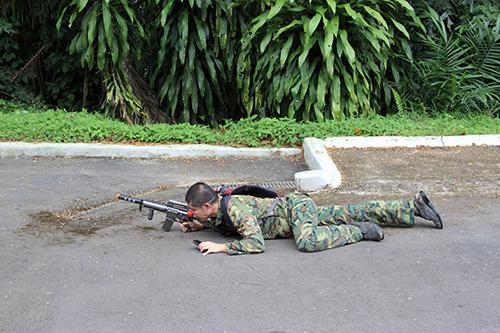
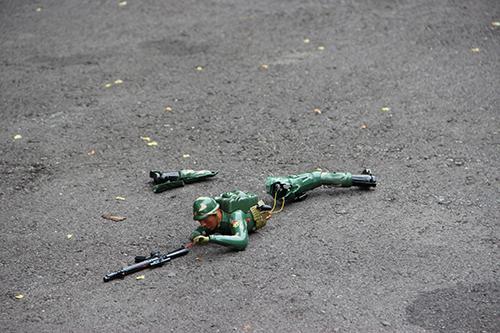
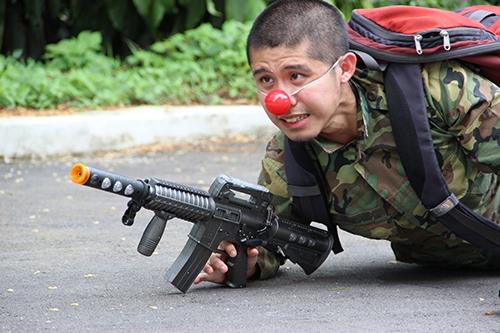
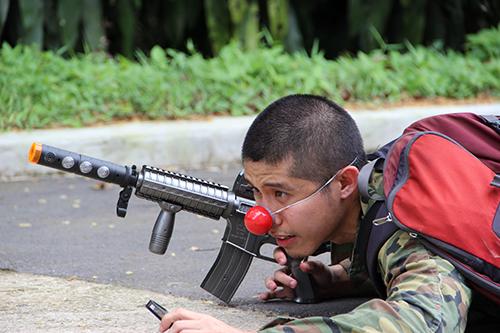
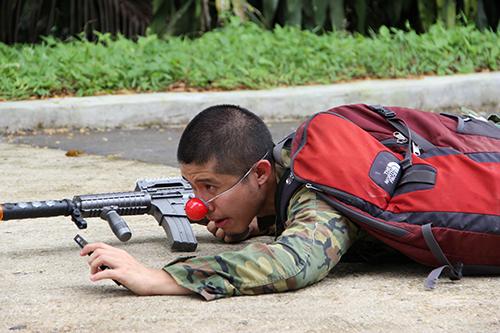
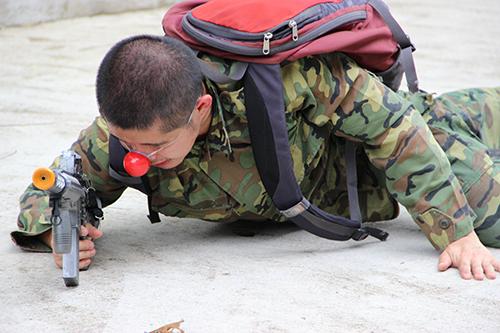
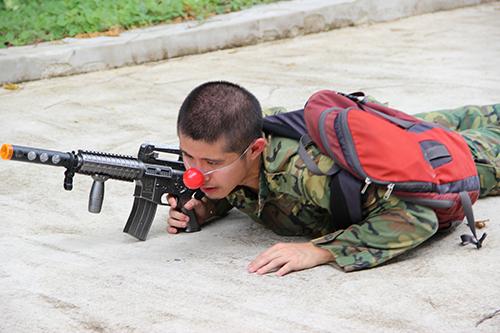
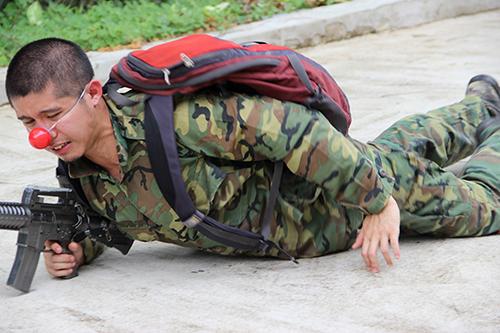
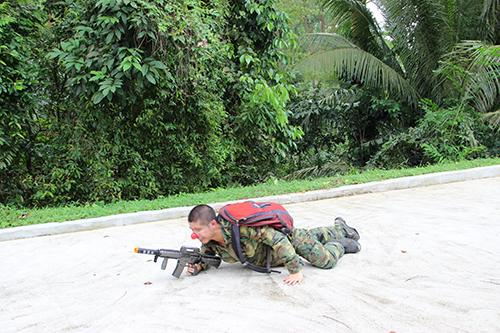
Battle #1: Gillman Barracks
Battle#1: Gillman Barracks
site responsive performance
2013
photo documentation by Vincent Chow